I finally got around to taking pictures while I was making bias binding.
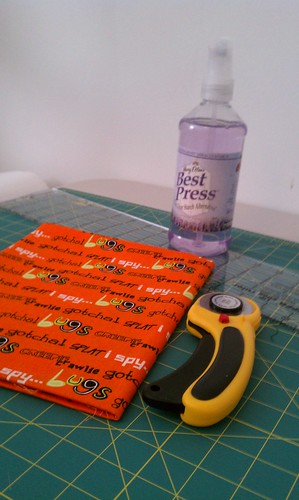
What you'll need:
- 1 yard of fabric
- Iron & Ironing Board
- Rotary cutter and Cutting mat
- Long Acrylic ruler
Instructions:
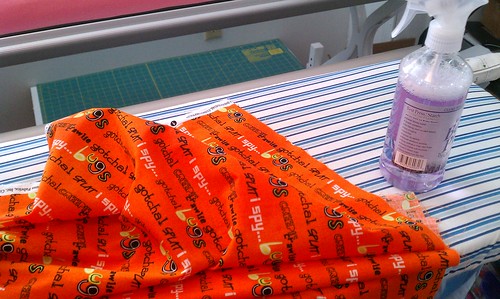
1. Wash your fabric (omit this step if you don't pre-wash your fabrics). Remove fabric from washer, but don't dry. Spray your fabric down with the Best Press.
2. Fold your fabric in half to form a triangle. I fold it over once more to make a smaller triangle (folded edges touching along the top). This makes cutting easier for me.
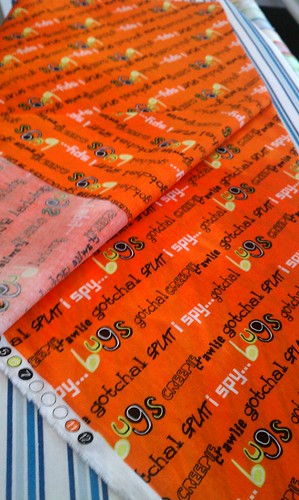
3. Carefully press your folds and press all of the fabric (flipping it over once) until the fabric is dry.
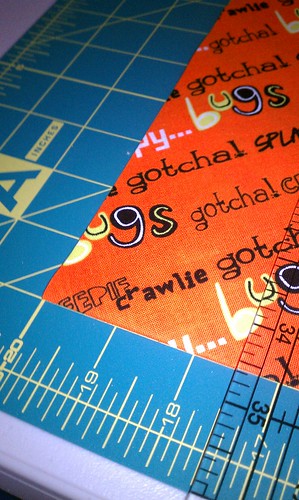
4. This step is very important! Align your ruler with the single folded edge so that your cuts are even. You want your strips to be as straight as they can be once they are unfolded.
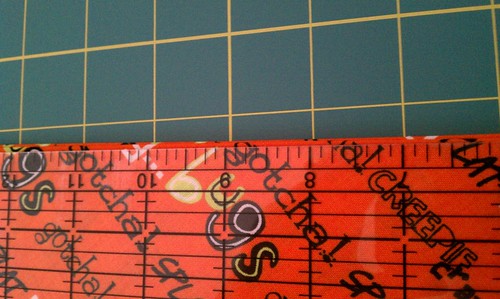
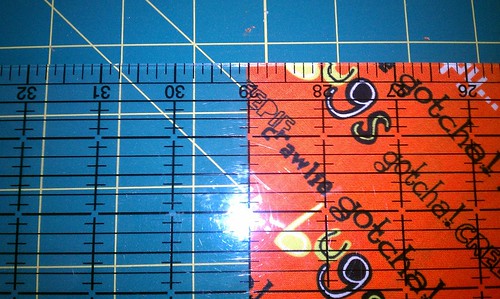
5. Cut your strips starting at the cut edge. Remember to align your ruler each time you cut to ensure even cuts.
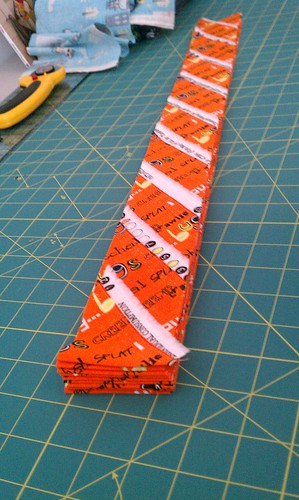
When you're finished, you'll have a nice stack of strips ready to be sewn together.
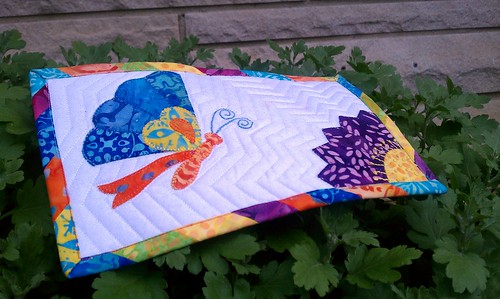
Heather over at Olive and Ollie has a great tutorial on how to bind a quilt using your machine. I tried this on a small mug rug recently and it was super easy and worked great!
2 comments:
Drooling over your beautiful new blog and that lovely quilt! Awesome :)
I love how your mug rug turned out! I have only made bias binding once so I'm happy for a tutorial that I can refer back to when I need to make it again.
Post a Comment